IOD Molds: A Creative Guide to Detailed Furniture and Décor Makeovers
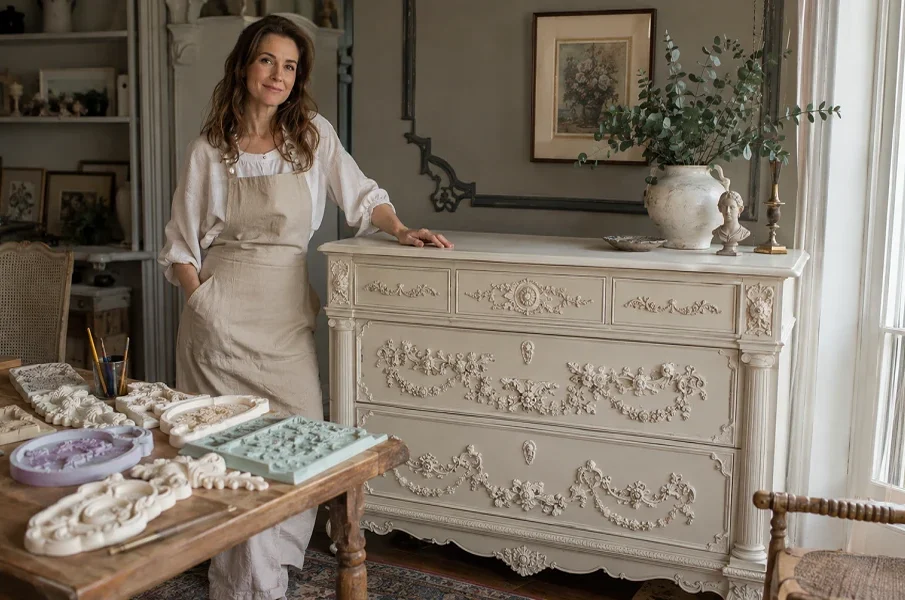
A tired dresser, plain mirror, or simple storage box does not always need replacement. Often, it needs character. Dimensional castings can turn a flat surface into something that feels carved, collected, and thoughtfully made. With the right motif and finish, a modest piece can gain a romantic, classical, botanical, or whimsical identity.
Makers can keep the design restrained with two corner details or build a bold focal point across drawers and doors. The result depends less on project size than on the choices made before the first casting is attached.
Why Dimensional Details Transform a Piece
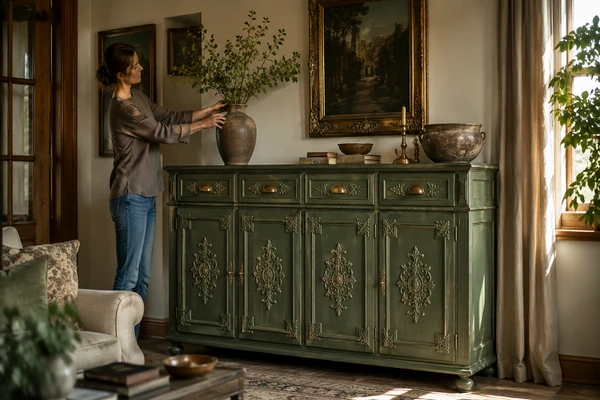
Paint changes color, but raised ornament changes Shape, light, and shadow. A floral swag can soften a boxy cabinet. Narrow trim can frame a drawer. Small emblems can create rhythm across several doors. Once painted with the furniture, the castings can look like part of the original construction.
Silicone moulds also make detailed forms repeatable. A maker can cast a balanced set, compare several arrangements, and adjust the composition before committing to glue.
1. Start With the Furniture
Study the piece from several angles. Note its straight lines, curves, hardware, and natural focal points. Decide whether the makeover should respect its original period, gently update it, or create deliberate contrast.
A delicate botanical detail may suit a bedside table, while a large crest can anchor an armoire. Borders work well on drawer fronts and mirror frames. Small elements can refresh trays, boxes, lamps, and wall plaques. Milton’s Daughter offers IOD Molds for subtle accents as well as expressive transformations.
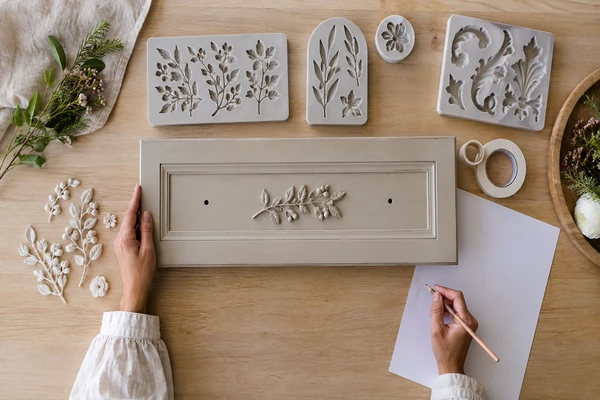
Before casting, trace the furniture area on paper or use low-tack tape to mark the layout. Symmetry feels formal. An off-center cluster feels relaxed and artistic. Leave open space so the eye can appreciate each detail.
2. Prepare a Clean, Stable Surface
Remove hardware when practical. Clean away dust, grease, wax, and loose finish, then repair unstable joints or flaking areas. Preparation varies with the existing coating and the paint system, so follow the directions for those products.
Older painted furniture needs extra care. Before sanding or scraping an unknown finish, review the EPA’s lead-safe renovation guidance and use an appropriate testing and containment approach. Careful preparation gives the decorative pieces and new finish a dependable base.
3. Match the Medium to the Shape
Air-dry clay is helpful when a casting must follow a curved drawer, rounded leg, or shaped vessel. It can be removed while moist, positioned gently, and supported as it dries. Some shrinking, fine cracking, or warping is natural with paper-based clay. Those traits can enhance an aged finish or be filled before painting for a cleaner look.
Casting resin creates firm, consistent details and suits crisp repeats or areas likely to receive regular handling. Measure and mix it exactly as its manufacturer directs. Use the recommended protective equipment, ventilation, release product, and cure time. Polymer clay and other compatible media offer more options, but each material should follow its own instructions and the mould’s stated use.
4. Cast, Release, and Attach Carefully
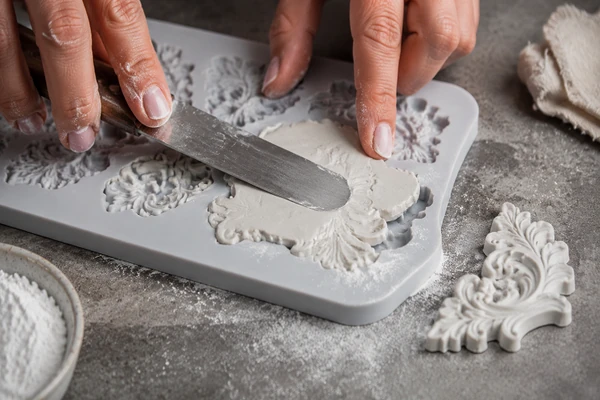
For air-dry clay, a light dusting of cornstarch can help release intricate shapes. Press softened clay firmly into the cavity so it reaches the smallest details. Remove excess material and level the back; a flat surface provides more adhesive contact.
Ease the casting out from one edge rather than pulling a delicate section. Dry it flat for later use, or attach it while slightly moist when it needs to follow a curve. Apply a suitable adhesive evenly, press the piece into place, and use low-tack tape to prevent movement on a vertical surface. The manufacturer’s step-by-step mould guide provides added casting, demoulding, drying, and care guidance.
Arrange several castings before gluing the full composition. Check spacing at eye level and from across the room. Small differences that disappear at the worktable can become obvious when the furniture is upright.
5. Create Depth With the Finish
Let the casting and adhesive dry fully. Then paint the ornament and furniture as one connected surface. A single color creates a convincing built-in effect. For more depth, dry-brush a lighter tone over raised areas or work a compatible glaze or wax into recesses.
Restraint matters. Highlight only the ridges that naturally catch light, and remove excess dark finish before it muddies fine lines. Let each layer cure according to its directions before adding the next or reinstalling hardware.
Turn the Ordinary Into Something Personal
The same process can transform a thrifted frame, cabinet door, planter, book box, or seasonal ornament. Start with a small project to learn how the medium moves and releases. Clean the silicone gently with warm, soapy water and a soft brush, then store it flat.
Detailed makeovers reward planning and play. Explore the mould collection at Milton’s Daughter, select a motif that suits the piece, and turn an ordinary surface into décor with depth, personality, and a finish that feels entirely your own.